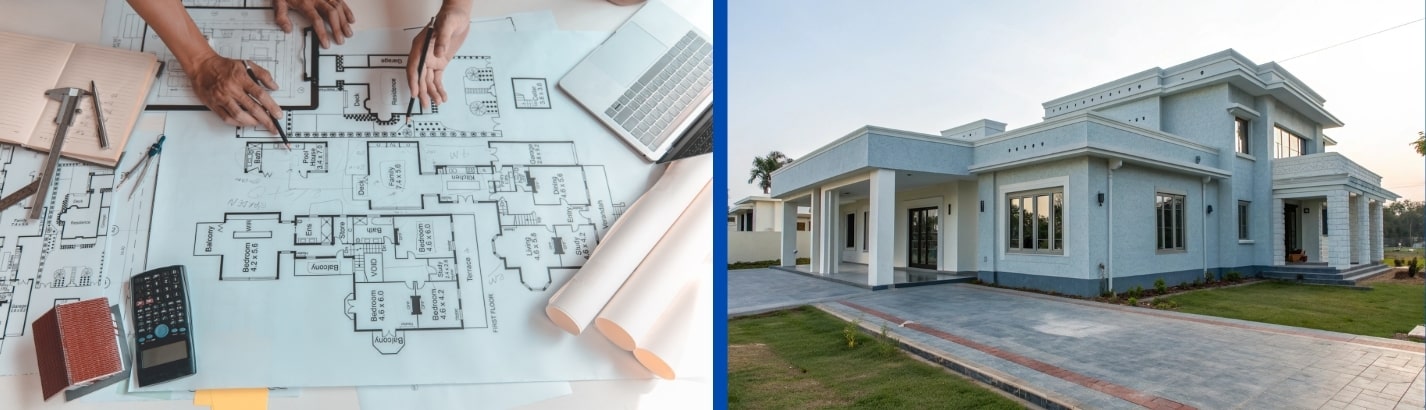
Checklist for House Construction: Step-by-Step Guide to Building Your Dream Home
- Nov 12
- 6 min read
Building your own house is one of life’s biggest milestones. But it’s also a process that involves hundreds of decisions, from choosing the right plot to selecting the best building materials, managing timelines, and coordinating with every construction worker on-site.
Without a clear checklist, it’s easy to overlook small details that can cause costly mistakes later. A structured plan keeps you organized, ensures quality at every stage, and helps you stay within budget.
Whether you’re constructing a small home or a large family residence, this practical house construction checklist will help you navigate the journey confidently, from foundation to finish.
Step 1: Finalize Your Budget and Plan
Before you buy your first brick, start with a detailed budget plan. This will guide every decision that follows.
Your budget should cover:
Land cost and registration fees
Architect or structural engineer fees
Material and labor costs
Electrical, plumbing, and interior finishing
Local permits and government approvals
Contingency reserve (at least 10% extra for unexpected expenses)
Once you have a rough figure, sit with your architect to design a plan that fits within it. This ensures your dream home doesn’t turn into a financial burden midway through construction.
Step 2: Choose a Reliable Contractor or Builder
Finding the right construction worker or contractor is just as important as choosing good materials. The skill and experience of your contractor directly affect your home’s quality, durability, and finish.
Here’s what to check before hiring:
Past project experience and references
Knowledge of local construction norms
Labor and safety compliance
Ability to source quality materials on time
Transparent pricing and payment terms
Good communication with your contractor ensures your ideas translate correctly from blueprint to brick.
Step 3: Select the Right Building Materials
Every durable home starts with quality materials. Using low-grade products may save money initially, but can lead to high maintenance costs later.
Here are the essential building materials to check off your list:
Category | Materials to Consider | Tips |
|---|---|---|
Cement | OPC, PPC, or PSC | Use reliable brands like Bangur for strength and consistency. Go for premium quality products like Bangur Magna, Bangur Roofon Plus & Bangur Marble |
Steel | TMT bars | Choose ISI-certified bars for structural reliability |
Sand | River sand or M-sand | Ensure it’s clean, well-graded, and free from clay |
Bricks/Blocks | Red Bricks, Fly ash bricks, AAC blocks | Lightweight and energy-efficient options available |
Aggregates | 10mm & 20mm sizes | Use well-graded stones for better bonding |
Plumbing & Electrical | Pipes, switches, wiring | Prefer branded materials for long-term safety |
Step 4: Get All Required Approvals
Before construction begins, make sure your paperwork is in place. Missing approvals can delay your project or lead to penalties later.
Common approvals include:
Building plan sanction from the local municipal authority
Environmental clearance (if required)
Water and electricity connections
Soil test report
Occupancy and completion certificates (after construction)
Keep copies of all documents safely filed; they’ll be needed for property registration and resale.
Step 5: Foundation and Structural Work
Once approvals are done, your project moves to the most critical stage — the foundation. It’s what carries the entire weight of your home.
Checklist for this stage:
Conduct a soil test to determine load-bearing capacity.
Choose the right foundation type (shallow, deep, or raft) as per design given by Architect/Structural Consultant.
Use high-quality cement and steel for footing and columns.
Ensure proper curing and compaction.
Foundation errors are hard to fix later, so supervision at this stage is essential.
Step 6: Slab and Wall Construction
Your home begins to take shape at this stage. Slabs and walls define the structural layout and strength of the building.
For slab construction:
Use M20/M25 concrete or a higher grade as specified by Consultant/Architect or Engineer.
Maintain a water-cement ratio between 0.45–0.50 for maximum strength.
Allow adequate curing time (14–21 days).
Prevent cracks by using waterproof cement in terrace slabs.
For wall construction:
Use uniform bricks or AAC blocks.
Red Bricks should be properly cured before use.
Ensure the vertical and horizontal alignment is perfect.
Fill gaps properly with cement mortar.
Supervision during slab and wall work ensures your structure remains even, stable, and crack-free.
Step 7: Roofing and Waterproofing
Roofing is one of the most overlooked parts of house construction, but it’s also the one most exposed to the elements. Poor waterproofing leads to damp ceilings and leaks.
Checklist for roofing:
Choose cement suitable for slabs, like PPC or composite cement.
Apply waterproofing compounds in the mix or during finishing.
Check slope direction to ensure proper rainwater drainage.
Use heat-reflective tiles or coatings for energy efficiency.
Spending a bit more here saves you years of damp patches and repainting costs later.
Step 8: Electrical, Plumbing, and Flooring Work
Once the structure is complete, it’s time for the finishing touches — the systems that make your home functional.
Electrical and Plumbing Checklist:
Plan outlet points before plastering.
Use ISI-marked wires and pipes.
Test all water outlets and electric circuits before closing the walls.
Flooring Checklist:
Choose tiles or stone that fit your design and budget.
Level the floor before fixing tiles.
Grout properly to avoid water seepage.
These details may seem small, but have a big impact on comfort and maintenance.
Step 9: Painting, Fixtures, and Interiors
This is where your home starts looking like a home.
Checklist for finishing work:
Apply a primer coat before painting.
Use waterproof paint for bathrooms and exteriors.
Install windows, doors, and fittings before after the final coat.
Test plumbing fixtures for leaks before final polishing.
Interior work can be customized to your taste, including modular kitchens, wardrobes, lighting, and decor — but always make sure the structure and electrical systems are complete before starting interiors.
Step 10: Final Inspection and Handover
Before moving in, conduct a thorough inspection of your home with your contractor.
Things to check:
No visible cracks on walls or ceilings
All switches, taps, and fittings work
No seepage or damp marks
Doors and windows open and close smoothly
Tiles and flooring are even
Once everything checks out, collect all warranty certificates, bills, and blueprints from your builder.
Bonus Tips for Smooth House Construction
Visit the site regularly to stay updated on progress.
Avoid changing plans mid-way, as it increases cost and time.
Hire a qualified civil engineer for periodic inspections.
Keep track of material invoices to ensure transparency.
Ensure all construction workers have safety gear on-site.
Building a home is teamwork; every worker, material, and decision contributes to the final structure.
Final Thoughts
Constructing your dream home is exciting, but it can also feel overwhelming without a clear roadmap. Having a structured house construction checklist makes the process easier to manage, helping you track progress, control costs, and ensure top-notch quality.
From selecting the right building materials to hiring the right construction worker, every step counts. When you plan carefully and choose trusted suppliers, your home becomes not just a space to live in but a structure that stands strong for generations.
So before you start digging that first foundation trench, grab this checklist — and make sure your dream home starts right, stays solid, and finishes beautifully.

Cookies help us display personalized product recommendations and ensure you have a great experience.
Accept Cookies