Bathroom Waterproofing: Importance and Steps for Floors and Walls
- Dec 11
- 4 min read
Water seepage is one of the first signs that something is off in a home. It usually begins in places that deal with water every day, and the bathroom is almost always the first to show those clues. If you’re building a new home or repairing an old one, proper waterproofing keeps moisture out of the structure, protects surfaces, and cuts down the chance of damp patches, stains, and long-term damage. A well-done waterproofing coating becomes the layer of protection most people never see but rely on every day.
The Importance of Bathroom Waterproofing
Bathrooms handle water from every direction showers, tap splashes, cleaning, and the general humidity in the air. Over time, this constant exposure slowly reaches the layers beneath the tiles. Once it finds a gap, moisture travels quickly and shows up as flaking paint, weakened plaster, or leakage in rooms below.
A good waterproofing system uses membranes, coatings, and waterproofing chemicals to block that movement. When installed correctly, it keeps the bathroom dry, prevents mold, and stops small issues from turning into structural repairs.
Steps for Waterproofing the Bathroom Floor
Waterproofing the bathroom floor happens to be the first step, as water tends to collect and spread across the floor surface. Here are the steps to follow:
1. Prepare the Area
Before applying any product, the bathroom floor must be clean, dry, and free of old material. Removing debris ensures that coatings and membranes bond properly with the base surface. In order to stop water pooling, ensure that there is a proper slope to guide the water to the drain effectively.
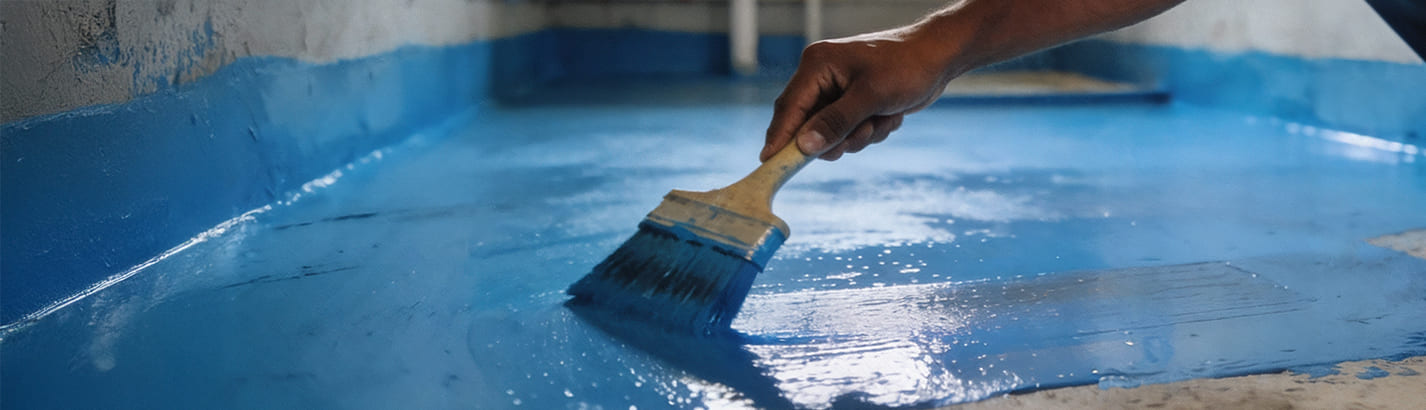
2. Select the Right waterproofing material
There are multiple waterproofing systems available, including membranes, liquid compounds, and cement-based coatings. Choosing the correct waterproofing coating depends on bathroom size, moisture conditions, and installation skill. The goal is to create a layer that prevents seepage.
3. Apply Primer
A primer helps bind the surface and the waterproof layer. It prepares the floor for a strong application and minimises the chances of gaps or weak spots. The primer must dry completely before moving to the next step.
4. Seal Joints Carefully
Floor-to-wall joints, corners, and pipe openings are the first points where leakage usually appears. Using a suitable waterproof sealant or sealing tape ensures these areas remain protected. This step is especially important to support long-term durability.
5. Test the Floor
Once the system is applied, a simple water-holding test helps confirm that no seepage occurs. Water is allowed to sit on the treated area for a few hours. If dampness appears below or around, repairs should be completed before installing tiles.
Steps for Waterproofing the Bathroom Wall
The bathroom walls also face direct contact with moisture, especially near showers and basins. Waterproofing them helps avoid peeling paint, mold formation, and structural weakness.
1. Choose the Appropriate Material
A reliable waterproof cement-based system or membrane helps create a solid moisture barrier on the bathroom wall. The material chosen should be compatible with the wall surface and the selected finishing layer.
2. Use Primer to Prepare the Surface
Just like the floor, the wall surface must be clean and repaired before priming. A primer improves adhesion and ensures the waterproofing system stays stable.
3. Add Waterproof Layers
After the membrane is applied, waterproof paint can serve as an additional layer. It gives the wall an extra level of resistance against moisture entering through daily use. This combination of membrane plus paint helps strengthen the overall system.
4. Fixing of Bathroom Tiles
Now days, it is the practice to fix up fancy bathroom tiles. Kindly ensure to do proper grouting of all the joints of bathroom tiles with white cement in order to avoid percolation of water through the open joints.
5. Test for Leakage
Testing the wall with splashed water helps identify any weak points. Corners, fixture edges, and joints must remain dry during testing. If leakage appears, corrections are made before tiling or painting.
A well-planned waterproofing system is essential for the long-term performance of any bathroom. Proper bathroom waterproofing maintains hygiene, protects structural elements, and preserves the value of the home. Following the steps for floor and wall treatment ensures the bathroom remains safe, durable, and free from moisture-related issues.

Cookies help us display personalized product recommendations and ensure you have a great experience.
Accept Cookies