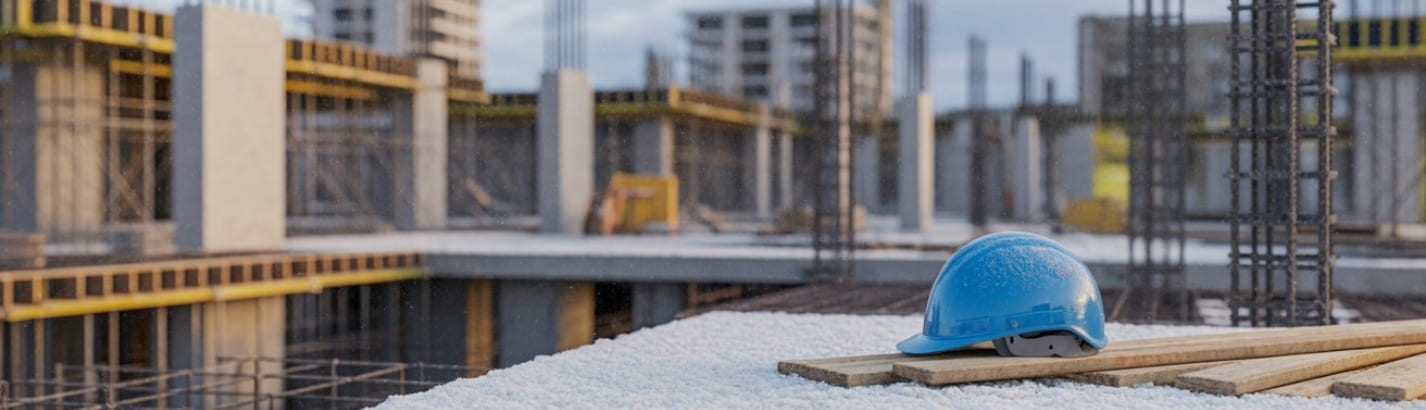
Construction in Winter – Complete Guide
- Jan 21
- 6 min read
Construction during winter presents unique challenges due to low temperatures, frost, snow, and reduced hydration rates of cement. Cold weather affects concrete performance significantly, influencing its setting time, strength development, durability, and overall quality. This guide explains the impact of winter conditions on cement, concrete mix design, setting time, and strength gain, along with best practices for safe and effective cold-weather construction.
1. Understanding Cold Weather Conditions
According to general construction standards, cold weather is defined as per ACI:
ACI 306 defines cold weather when the following conditions exist for three consecutive days
A. the average daily temperature falls below 40C
B. Air temperature does not rise above 100C for more than half a day in any 24 hour period
These conditions warrant special precautions when placing, finishing, curing and protecting concrete against the effects of cold weather.
Under these conditions, concrete requires additional precautions because:
Hydration slows significantly.
Concrete takes longer to set.
Early-age strength gain is delayed.
Fresh concrete is at risk of freezing.
Surface defects and long-term durability problems may occur.
2. Cement Behavior in Winter
Cement hydration is a chemical reaction that generates heat and causes concrete to harden. Temperature directly affects hydration.
Effects of Low Temperature on Cement Hydration
Hydration slows noticeably below 10°C.
Hydration almost stops below 5°C.
If concrete freezes before it reaches an early strength of about 3.5–7 MPa, ice crystals can form inside the matrix and cause internal cracking.
The time required to achieve design strength becomes significantly longer.
Key Point
Cement requires adequate temperature to hydrate properly. In winter, maintaining heat and preventing freezing is essential during the first 24–48 hours.
3. Setting Time of Cement in Winter
The setting time of cement is the period required for fresh concrete to harden sufficiently to resist penetration.
Typical Setting Times (Normal Weather)
Initial set: 30–45 minutes
Final set: 6–8 hours
Setting Times in Cold Weather
Initial set can extend to 2–4 hours
Final set may take 10–20 hours or more
Finishing operations take longer
Delayed stiffening increases the risk of surface scaling during finishing
How to Improve Setting Time in Winter
Use warm mixing water (not exceeding 60°C).
Select rapid-hardening cement such as Type III or specially formulated winter cement for specialized projects.
Use accelerating admixtures (non-chloride accelerators are recommended when reinforcement is present).
Maintain aggregate temperature above freezing.
Cover placed concrete immediately to retain heat.
4. Concrete Mix Design for Winter Construction
Concrete placed during winter should be modified to ensure proper hydration, early strength gain, and resistance to freezing.
Key Winter Mix Adjustments
1. Increase Cement Content
More cement increases the heat of hydration, helping the concrete maintain internal warmth.
2. Lower the Water–Cement Ratio
A lower water - cement ratio reduces excess free water, which may freeze and damage the concrete.
3. Use Accelerators
Accelerating admixtures enhance the rate of hydration and early strength development.
Preferred accelerators include:
Calcium formate
Non-chloride accelerators
Avoid chloride-based accelerators in reinforced concrete due to corrosion risk.
4. Use Warm Water or Heated Aggregates
Mix temperature must be maintained between 10°C and 20°C at the time of placing.
Warm water helps dissolve admixtures properly and prevents aggregate freezing.
Cover the aggregates with tarpaulin and blow steam into the base of the stockpile.
The aggregate should be heated as evenly as possible and not above 50 C
5. Use Air-Entraining Admixtures
Air entrainment improves freeze–thaw resistance, making the concrete more durable in cold climates.
6. Reduce Slump
A slightly stiffer mix reduces water content and improves finishing quality.
5. Strength of Concrete in Winter
The strength development of concrete is highly temperature-dependent.
Temperature vs Strength Gain Rate
Curing Temperature | Strength Gain Rate |
|---|---|
20°C | Normal rate (100%) |
10°C | Slower by approximately 50% |
5°C | Slower by approximately 70% |
0°C | Strength gain is extremely slow |
Below 0°C | Hydration stops; risk of freeze damage |
Concrete should reach at least 3.5 MPa before exposure to freezing conditions. This usually requires:
24 to 48 hours at around 10°C
8 to 12 hours when using accelerators and thermal insulation
Strategies to Improve Strength Development
Use insulated blankets or thermal curing methods.
Enclose the work area and use heated enclosures.
Use low w/c ratio and rapid-hardening cement.
Avoid sudden temperature drops after initial curing.
6. Best Practices for Winter Concreting
1. Pre-Construction Planning
Review weather forecasts.
Prepare insulation blankets and heated enclosures.
Arrange for heaters and windbreaks.
Schedule delivery and placement during the warmest part of the day.
2. Preparation of Materials
Keep aggregates dry and free of ice.
Use warm mixing water.
Store cement indoors to avoid moisture contamination.
3. Subgrade Preparation
Remove snow, frost, and ice completely.
Never place concrete on frozen ground.
Use insulating blankets or heaters to warm the subgrade if required.
4. Maintaining Concrete Temperature
Concrete temperature at placement should generally be between:
10°C to 20°C for slabs
12°C to 25°C for structural elements such as columns and beams
Use insulated formwork, thermal blankets, or heated tents.
5. Proper Curing
Cold weather reduces the rate of hydration and increases the risk of freezing. Proper curing is essential.
Use:
Insulated blankets
Temporary heated enclosures
Warm air curing
Sealed curing to prevent moisture loss in heated environments
Maintain the concrete temperature above 10°C for at least 72 hours.
6. Controlled Cooling
Avoid rapid removal of insulation. Concrete should cool gradually to avoid thermal shock and cracking.
7. Special Considerations for Different Types of Concrete Work
Foundations
Ensure soil is thawed and stable.
Provide extra insulation due to contact with cold ground.
Floor Slabs
Use insulated blankets to protect large exposed surfaces.
Finish only when bleed water has evaporated (delayed in winter).
Walls and Columns
Use heated formwork if available.
Maintain temperature inside formwork during curing.
8. Common Mistakes to Avoid in Winter Construction
Placing concrete on frozen or frosted ground.
Using water to melt ice or snow at the placement area.
Failing to adjust the mix design for low temperatures.
Removing formwork or insulation too early.
Allowing fresh concrete to freeze during the first 24 hours.
Inadequate curing or insufficient insulation.
9. Winter Concrete Checklist
Site is cleared of snow and ice.
Subgrade is warm and stable.
Aggregates and water are at proper temperatures.
Winter-appropriate mix design is used.
Accelerators and air-entraining admixtures are ready.
Insulation blankets and heaters are available.
Concrete will be protected for at least 72 hours.
Conclusion
Construction in winter is entirely feasible when proper procedures are followed. Cold temperatures affect cement hydration, concrete mix workability, setting time, and strength development, but these challenges can be managed with correct mix adjustments, temperature control, and proper curing methods. By understanding winter-specific requirements and implementing protective measures, concrete placed in cold weather can achieve excellent strength and long-term durability.

Cookies help us display personalized product recommendations and ensure you have a great experience.
Accept Cookies